
Ever looked at a tattoo gun and thought, “Where do I even start?” You’re not alone — setting up a tattoo machine for the first time can feel confusing with all its wires, needles, and tiny parts.
But once you understand how each piece works together, it becomes surprisingly simple.
Knowing how to set up a tattoo gun the right way is the first step to creating clean, safe, and professional-looking tattoos.
Whether you’re practicing on fake skin or getting ready for your first real tattoo, this guide breaks everything down in the easiest way possible.
You’ll learn what tools you need, how to connect and adjust your machine, and the simple checks to make sure it runs smoothly before you start.
By the end, you’ll feel confident holding your tattoo gun — and ready to turn your ideas into art.
What Do You Need Before Setting Up a Tattoo Gun?
Before you even touch the tattoo machine, make sure you have all your supplies ready and your area clean. You’ll need:
- A tattoo gun (coil or rotary)
- Sterile needles and tubes
- A power supply and clip cord
- Rubber bands and grommets
- Tattoo ink, ink caps, and gloves
- Cleaning solution and disposable covers
Always sanitize your workstation and wear gloves before setup. Cross-contamination is one of the biggest risks in tattooing, so cleanliness should be your top priority.
How Do You Properly Assemble a Tattoo Gun for Beginners?
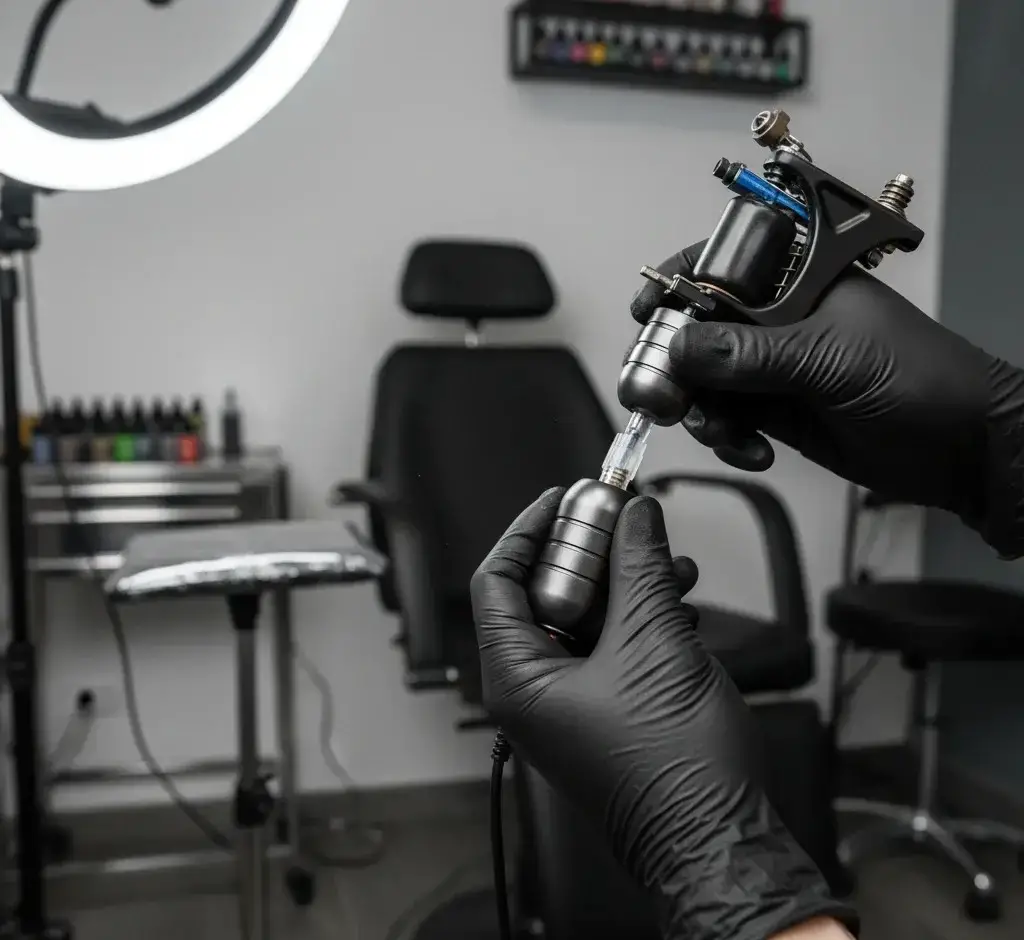
Start by connecting the tube and grip to the machine’s frame, making sure they fit snugly without any wobble.
Insert your needle into the tube, ensuring it moves freely up and down. Secure the rubber band around the armature bar to maintain steady tension.
Next, attach the clip cord to your power supply and connect it to the machine. Check that everything is firmly connected — loose parts can affect performance or cause injury during use.
How Tight Should the Needle and Tube Be in a Tattoo Machine?
The needle and tube should be tight enough that they don’t shift while tattooing but not so tight that they restrict needle movement. To test:
- Move the needle gently — it should glide smoothly.
- Make sure the tube is aligned with the machine’s tip.
- Use the locking screw to secure everything in place.
If the setup feels stiff, loosen slightly. If it rattles or shakes, tighten a bit more. The goal is stability without friction.
How Do You Adjust the Tattoo Machine’s Speed and Power Supply?
Proper voltage makes your tattoo gun run smoothly. Connect the clip cord and power supply, then adjust the voltage based on your work:
- Lining: Usually around 7–9 volts
- Shading: Around 8–10 volts
Always start low and slowly increase until the machine runs with a steady buzz. Too much power can damage the skin, while too little causes weak lines or inconsistent ink flow.
What Voltage Is Best for Lining and Shading?
Different tattooing tasks require different voltages because of how the needle interacts with the skin.
- Lining: Needs higher speed and precision (7–9 volts).
- Shading: Works best at slightly lower speed (8–10 volts) for smoother gradients.
Every machine has its sweet spot, so always test the voltage on fake skin first. Listen for a consistent hum that’s a good sign your settings are balanced.
How Do You Set the Needle Depth Correctly?
Needle depth affects how the ink sits in the skin. The correct depth is usually about 1 to 2 millimeters — deep enough to reach the dermis but not too deep to cause bleeding.
To check:
- Turn the machine on and observe how far the needle sticks out at rest.
- Adjust the tube grip until the tip extends slightly beyond the tube opening.
- Test on practice skin before tattooing real skin.
Correct needle depth ensures crisp lines and prevents blowouts or faded ink.
How Can You Tell If a Tattoo Gun Is Running Smoothly?
A properly tuned tattoo machine has a consistent sound — a steady buzz without skipping or sputtering. You can tell it’s running well if:
- The needle moves evenly.
- The vibration feels balanced.
- Ink flow is consistent during practice runs.
If your gun is shaking, making erratic noises, or stalling, check your connections, rubber bands, and voltage settings.
Why Is My Tattoo Gun Not Hitting or Vibrating Properly?
If your tattoo gun isn’t hitting properly, several things might be wrong:
- The voltage is too low or inconsistent.
- The clip cord or foot pedal is loose.
- The spring tension or armature bar gap is off.
- The needle bar might not be aligned correctly.
Start by checking the power first, then the physical parts. Clean and inspect your gun regularly to avoid buildup that can block movement.

How Do You Clean and Sterilize the Tattoo Gun Before Setup?
Cleaning is the most important step in tattooing. After every session:
- Disassemble the tattoo machine.
- Soak removable metal parts in a disinfectant solution.
- Use an ultrasonic cleaner if available.
- Wipe the frame with 70% isopropyl alcohol.
- Always use new sterile needles and tubes for every client.
Never reuse single-use items. Proper sterilization keeps infections and cross-contamination away — a must for professional hygiene.
How Can You Test Your Tattoo Gun Safely Before Tattooing?
Before tattooing real skin, always test your setup. Use fake practice skin or fruit like oranges or bananas to check:
- Ink flow consistency
- Needle depth
- Smooth vibration and sound
Testing helps fine-tune your voltage, grip, and technique before the actual work, preventing costly or painful mistakes later.
What’s the Difference Between Coil and Rotary Tattoo Guns When Setting Up?
- Coil tattoo guns: use electromagnetic coils to move the needle, giving them a punchier feel — ideal for bold lines.
- Rotary tattoo guns: on the other hand, use a small motor for smoother, quieter operation — perfect for shading or beginners.
When setting up, rotary machines are simpler (fewer parts, less tuning), while coil machines need more adjustment and precision with springs and armature bars.
How Do You Set Up a Wireless Tattoo Machine?
Wireless tattoo machines have built-in batteries, so no clip cords or foot pedals are needed.
Steps:
- Charge the battery fully.
- Insert the needle cartridge into the machine.
- Adjust the needle depth using the grip.
- Set your preferred voltage using the display screen.
Wireless setups are great for portability and freedom of movement, but always carry spare batteries during long sessions.
What Common Mistakes Should Beginners Avoid When Setting Up a Tattoo Gun?
Here are a few rookie mistakes to avoid:
- Using unsterilized equipment.
- Setting the needle too deep or too shallow.
- Forgetting to test voltage before starting.
- Over-tightening rubber bands or screws.
- Not cleaning between color changes.
Always take your time during setup — rushing often leads to uneven lines, pain, and infection risks.
How Often Should You Recheck or Re-Calibrate Your Tattoo Machine?
Tattoo machines need regular maintenance. Recheck your setup:
- Before every session for alignment and needle depth.
- After every few tattoos for spring tension or wear.
- Once a month for deep cleaning and lubrication.
Consistent recalibration keeps your machine performing smoothly and extends its lifespan.
What Safety Tips Should You Follow During Tattoo Gun Setup?
- Always wear disposable gloves.
- Use barrier wraps for cords and grips.
- Never touch sterile parts with bare hands.
- Dispose of needles safely in a sharps container.
- Sanitize the workspace before and after every client.
Safety isn’t optional — it’s part of being a responsible tattoo artist. Clean gear and careful setup protect both you and your client.